How to Polish Out Car Scratches | Magic Autocare
Every car picks up scratches eventually — you know, a cart in a parking lot, a low branch on a gravel driveway, an automatic wash that’s seen better brushes. The…
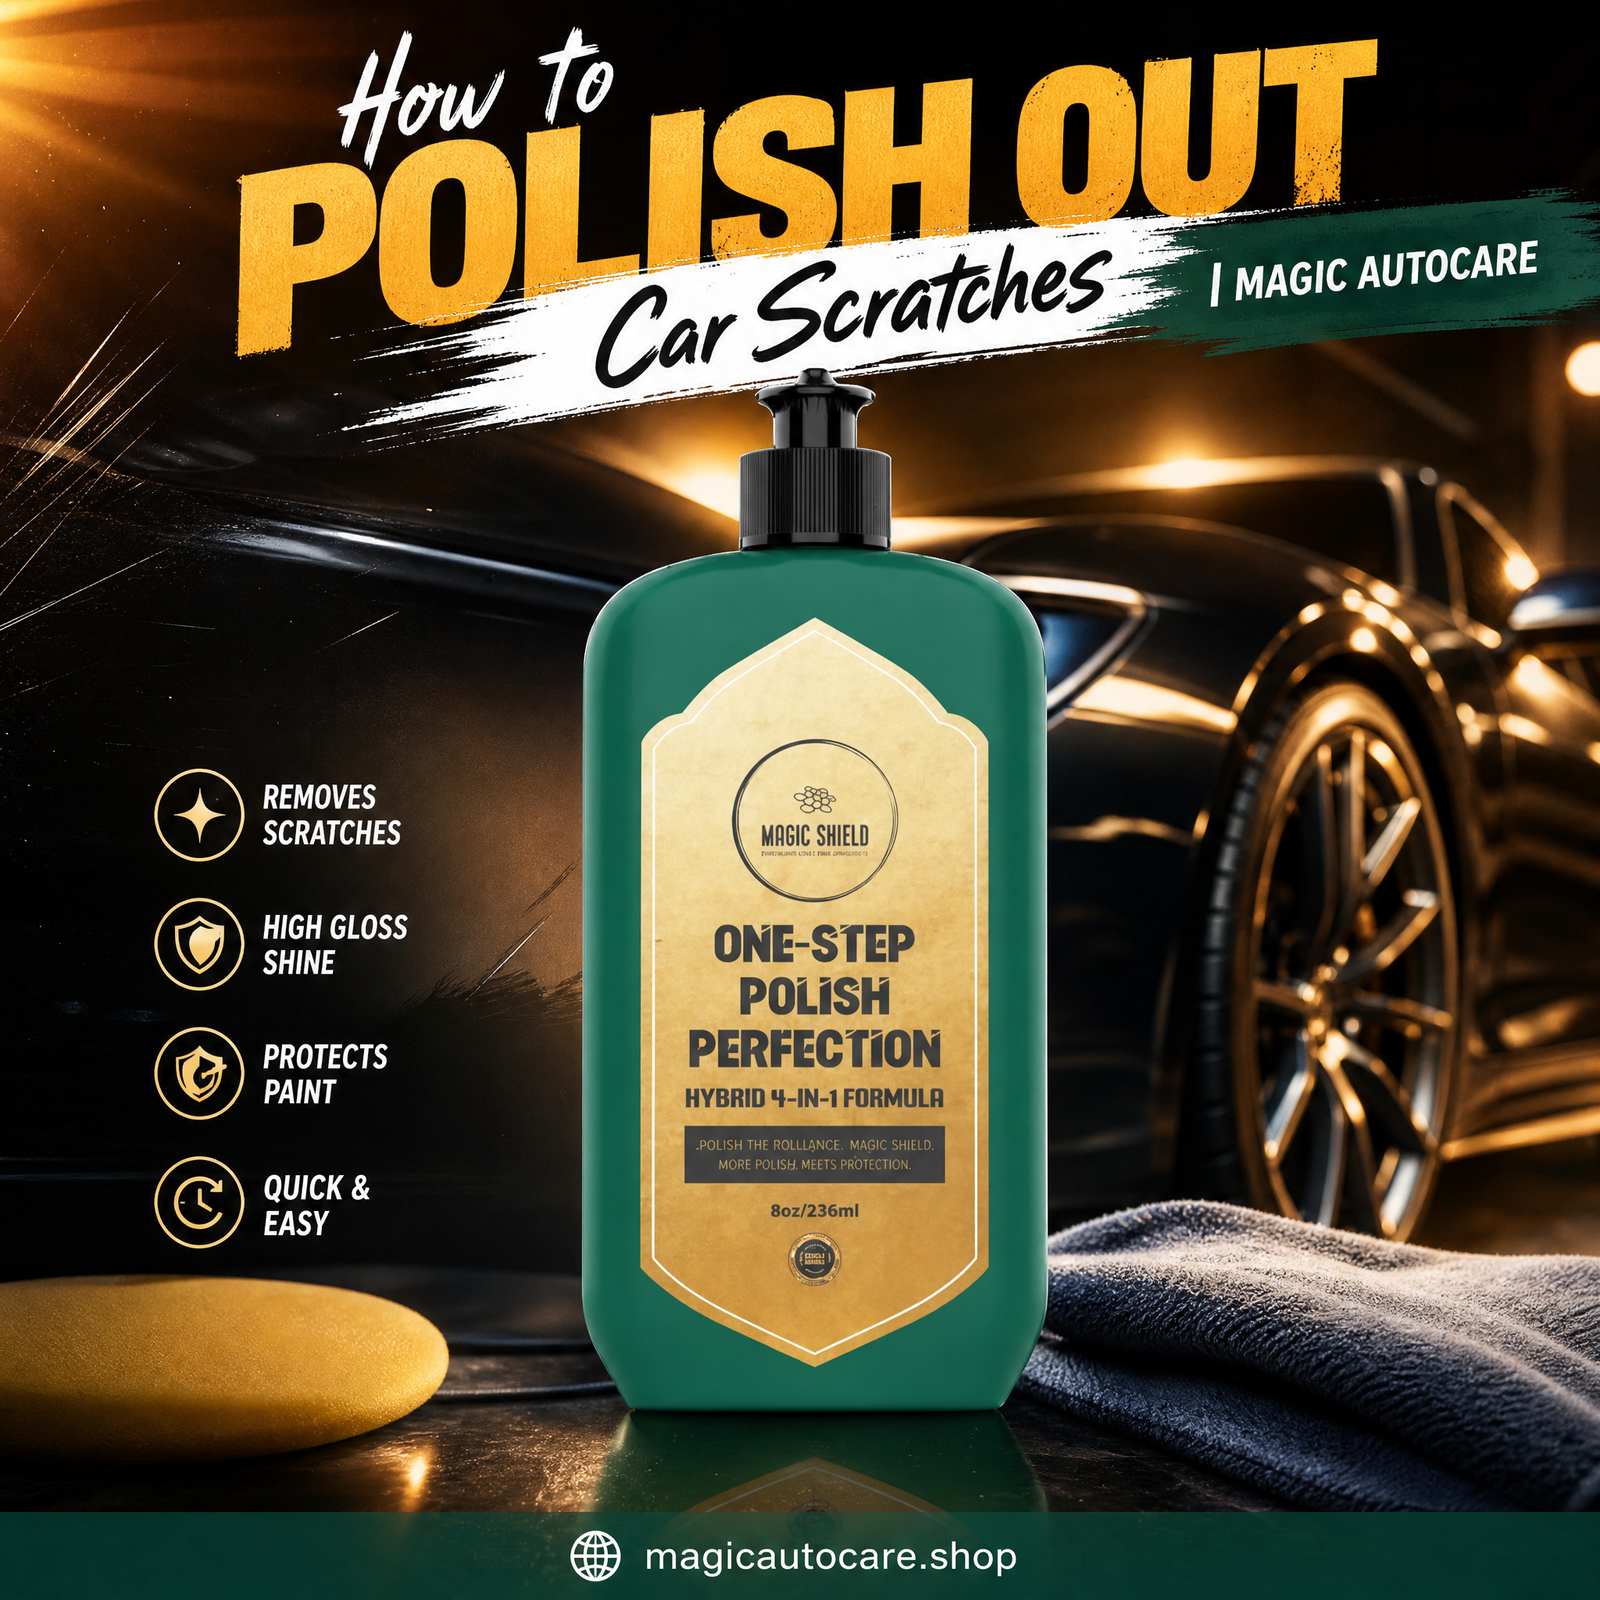
Every car picks up scratches eventually — you know, a cart in a parking lot, a low branch on a gravel driveway, an automatic wash that’s seen better brushes. The first instinct is usually to assume it’s permanent , like, “that’s just how it is now.” But most of the time, it isn’t. Learning how to polish out car scratches is basically a skill you can pick up in an afternoon, and it works on far more damage than most people expect, as long as you actually know what you’re looking at before you grab a pad.
This guide skips the filler and goes straight to what matters: how to read a scratch correctly, what to buy (and what to skip), the real technique for polishing it out, and how to keep it from coming back. Where it’s genuinely useful, we’ll point you toward the specific tools in the MagicAutoCare.shop lineup that make this a little easier for a first-timer.

Why Paint Scratches In the First Place
Scratches aren’t random — they’re friction with a cause. Most trace back to one of a handful of repeat offenders:
Automatic car washes, where shared brushes drag grit from the car ahead and smear it across your panels.
Hand washing with the wrong gear — a gritty sponge, reused wash water, or a towel that gets dragged across dust instead of being lifted off it.
Road debris — sand, salt, and loose gravel kicked up at highway speed.
Everyday contact — shopping carts, keys, bike pedals, an over-enthusiastic dog situation.
Acidic contaminants like tree sap and bird droppings, especially when someone scrubs them off aggressively instead of soaking them loose first.
None of this is really avoidable forever. What matters more is what the scratch tells you about how deep it went — and that’s basically the whole next section.
Read the Scratch Before You Touch It
Paint is layered — clear coat on top, color How to Polish Out Car Scratches underneath, primer below that, then metal or plastic. A scratch that only breaks the clear coat behaves completely differently from one that’s gone further, so diagnosis comes first, tools second.
Clear Coat Scratch
POLISH ITFingernail glides over it smoothly. Usually a light line or haze. This is the classic candidate for polishing.
Swirl Marks
POLISH ITA web of shallow circular scratches, most visible in direct sun. Almost always wash-induced, and one of the most satisfying fixes to make.
Base Coat Scratch
TOUCH-UP FIRSTNail catches slightly, hint of color underneath. Needs touch-up paint before polishing will do anything useful.
Primer / Metal Exposed
SEE A PRONail catches firmly, gray primer or bare metal visible. Polishing here only removes more clear coat around the wound.
QUICK TEST
How to Polish Out Car Scratches, Step by Step (kind of)
Wash it properly first. Two bucket method, pH-balanced shampoo, full rinse, dry with a clean microfiber towel. If you skip even a bit, that grit turns into a problem under your polishing pad later, like straight up.
Strip what the wash didn’t. Spray iron remover across the panel — it’ll bleed purple when it’s breaking down embedded brake dust. Rinse, then use a lubricated clay bar, glide it over the surface until it feels genuinely smooth, not just “yeah it’s clean now” smooth.
Inspect under real light
Use sunlight or a detailing lamp, How to Polish Out Car Scratches not garage shadows. Re-check your fingernail test from Section 02 before you go and do a full polish pass, no shortcuts.
Mask the panel edges
Painter’s tape over trim, rubber seals, and badges. Compound stains plastic faster than you would think, so don’t gamble.
Apply product to the pad, not the paint
A few dime sized drops of one step polish for light swirls, or a dedicated cutting compound first if the scratch is a bit deeper—then do a finishing polish pass right after.
Work small, overlapping bits
About 2×2 feet at a time. On a machine use moderate speed and let the pad do the work. Pressing harder just builds heat, and heat is what can burn clear coat, so yeah, ease up.
Buff off residue while it’s still workable
Once the product hazes or clears, wipe with a clean microfiber towel using light, even pressure. If it’s too dry, it’s more annoying to remove.
Check, then repeat if needed
Shallow scratches often need two or three passes. That’s normal, not a sign you’re messing it up.
Seal the correction in
Wipe down any oils left from the polish, then apply a ceramic spray coating or sealant. Skipping this step is why corrected paint looks awesome for a month and then, kinda goes back, relapses.
Where DIY Polishing Jobs Actually Go Wrong
DIY polishing jobs, they sound so simple right—until they kinda, go sideways. Polishing over dirt or that bonded grit first instead of doing the decontamination stage, you end up making fresh scratches while trying to erase the old ones.
Then there’s the part where people lean hard on a machine polisher. That thing ramps up heat fast, burn through clear coat easy, especially on the edges, and those body line transitions where paint is thinner.
Also working in direct hot sun, where the product dries before you can actually do anything with it. You’re basically rubbing a ghost paste, not doing correction.
And of course the mismatch moment: grabbing an aggressive compound for a light swirl mark, or going the mild route on a spot that really needed more cutting. Either way you lose time, or you mar the finish.
People also skip the mask-off step, and then wonder why trim gets stained with dried compound residue that basically bonds there.
Finally, calling it finished without proper protection… then the swirls are back within weeks, like you didn’t even start.
When to Stop Polishing and Call a Pro
Polishing has a ceiling. How to Polish Out Car Scratches If your fingernail catches firmly, you can see base color, primer, or metal, or several passes haven’t budged the scratch at all — stop. Continued polishing at that point just removes healthy clear coat around the damage instead of fixing it. That’s a job for touch-up paint, wet-sanding, or a professional respray.
Keeping It From Coming Back
- Apply a ceramic spray coating for a slicker, more scratch-resistant surface.
- Hand wash with the two-bucket method and a proper car shampoo — retire the automatic wash habit.
- Blot dry with a dedicated towel instead of dragging it across the surface.
- Re-clay every 6–12 months to keep contaminants from rebuilding.
- Park under cover when you can — UV exposure ages clear coat faster than almost anything else.
The MagicAutoCare.shop Lineup for This Exact Job
Every product below exists because one step of this process depends on it — nothing is in the catalog just to be in the catalog.
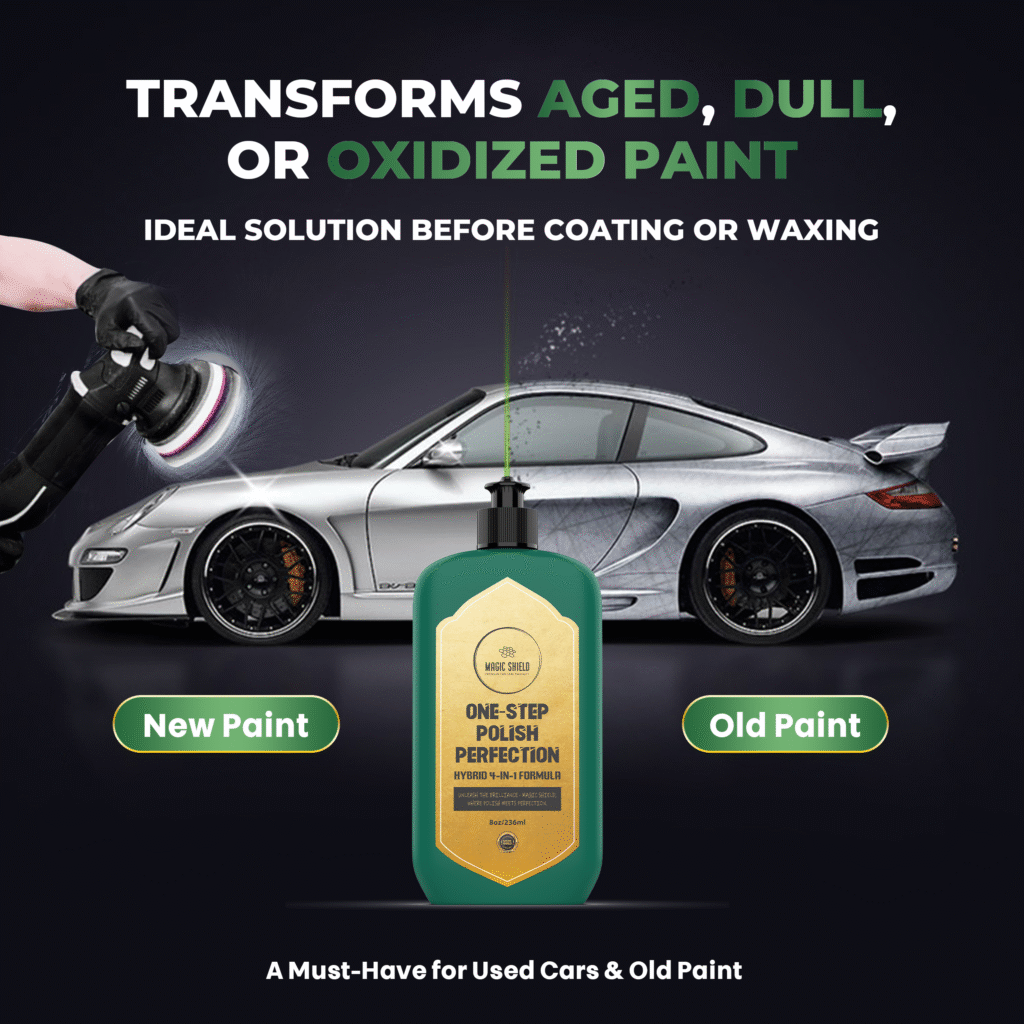
One Step Polish
Cuts and finishes light swirls and shallow scratches in a single pass — built for exactly this job.
Ceramic Spray Coating
Locks in gloss and adds a hydrophobic barrier once the correction is done.
Car Shampoo
pH-balanced formula that cleans without stripping wax or grinding in grit.
Clay Bar Kit
Lifts bonded contaminants before polishing so compound isn’t fighting embedded grit.
Iron Remover
Dissolves brake dust particles a regular wash leaves behind.
Preparation Kit
The pre-polish essentials bundled together for a guided, no-guesswork start.