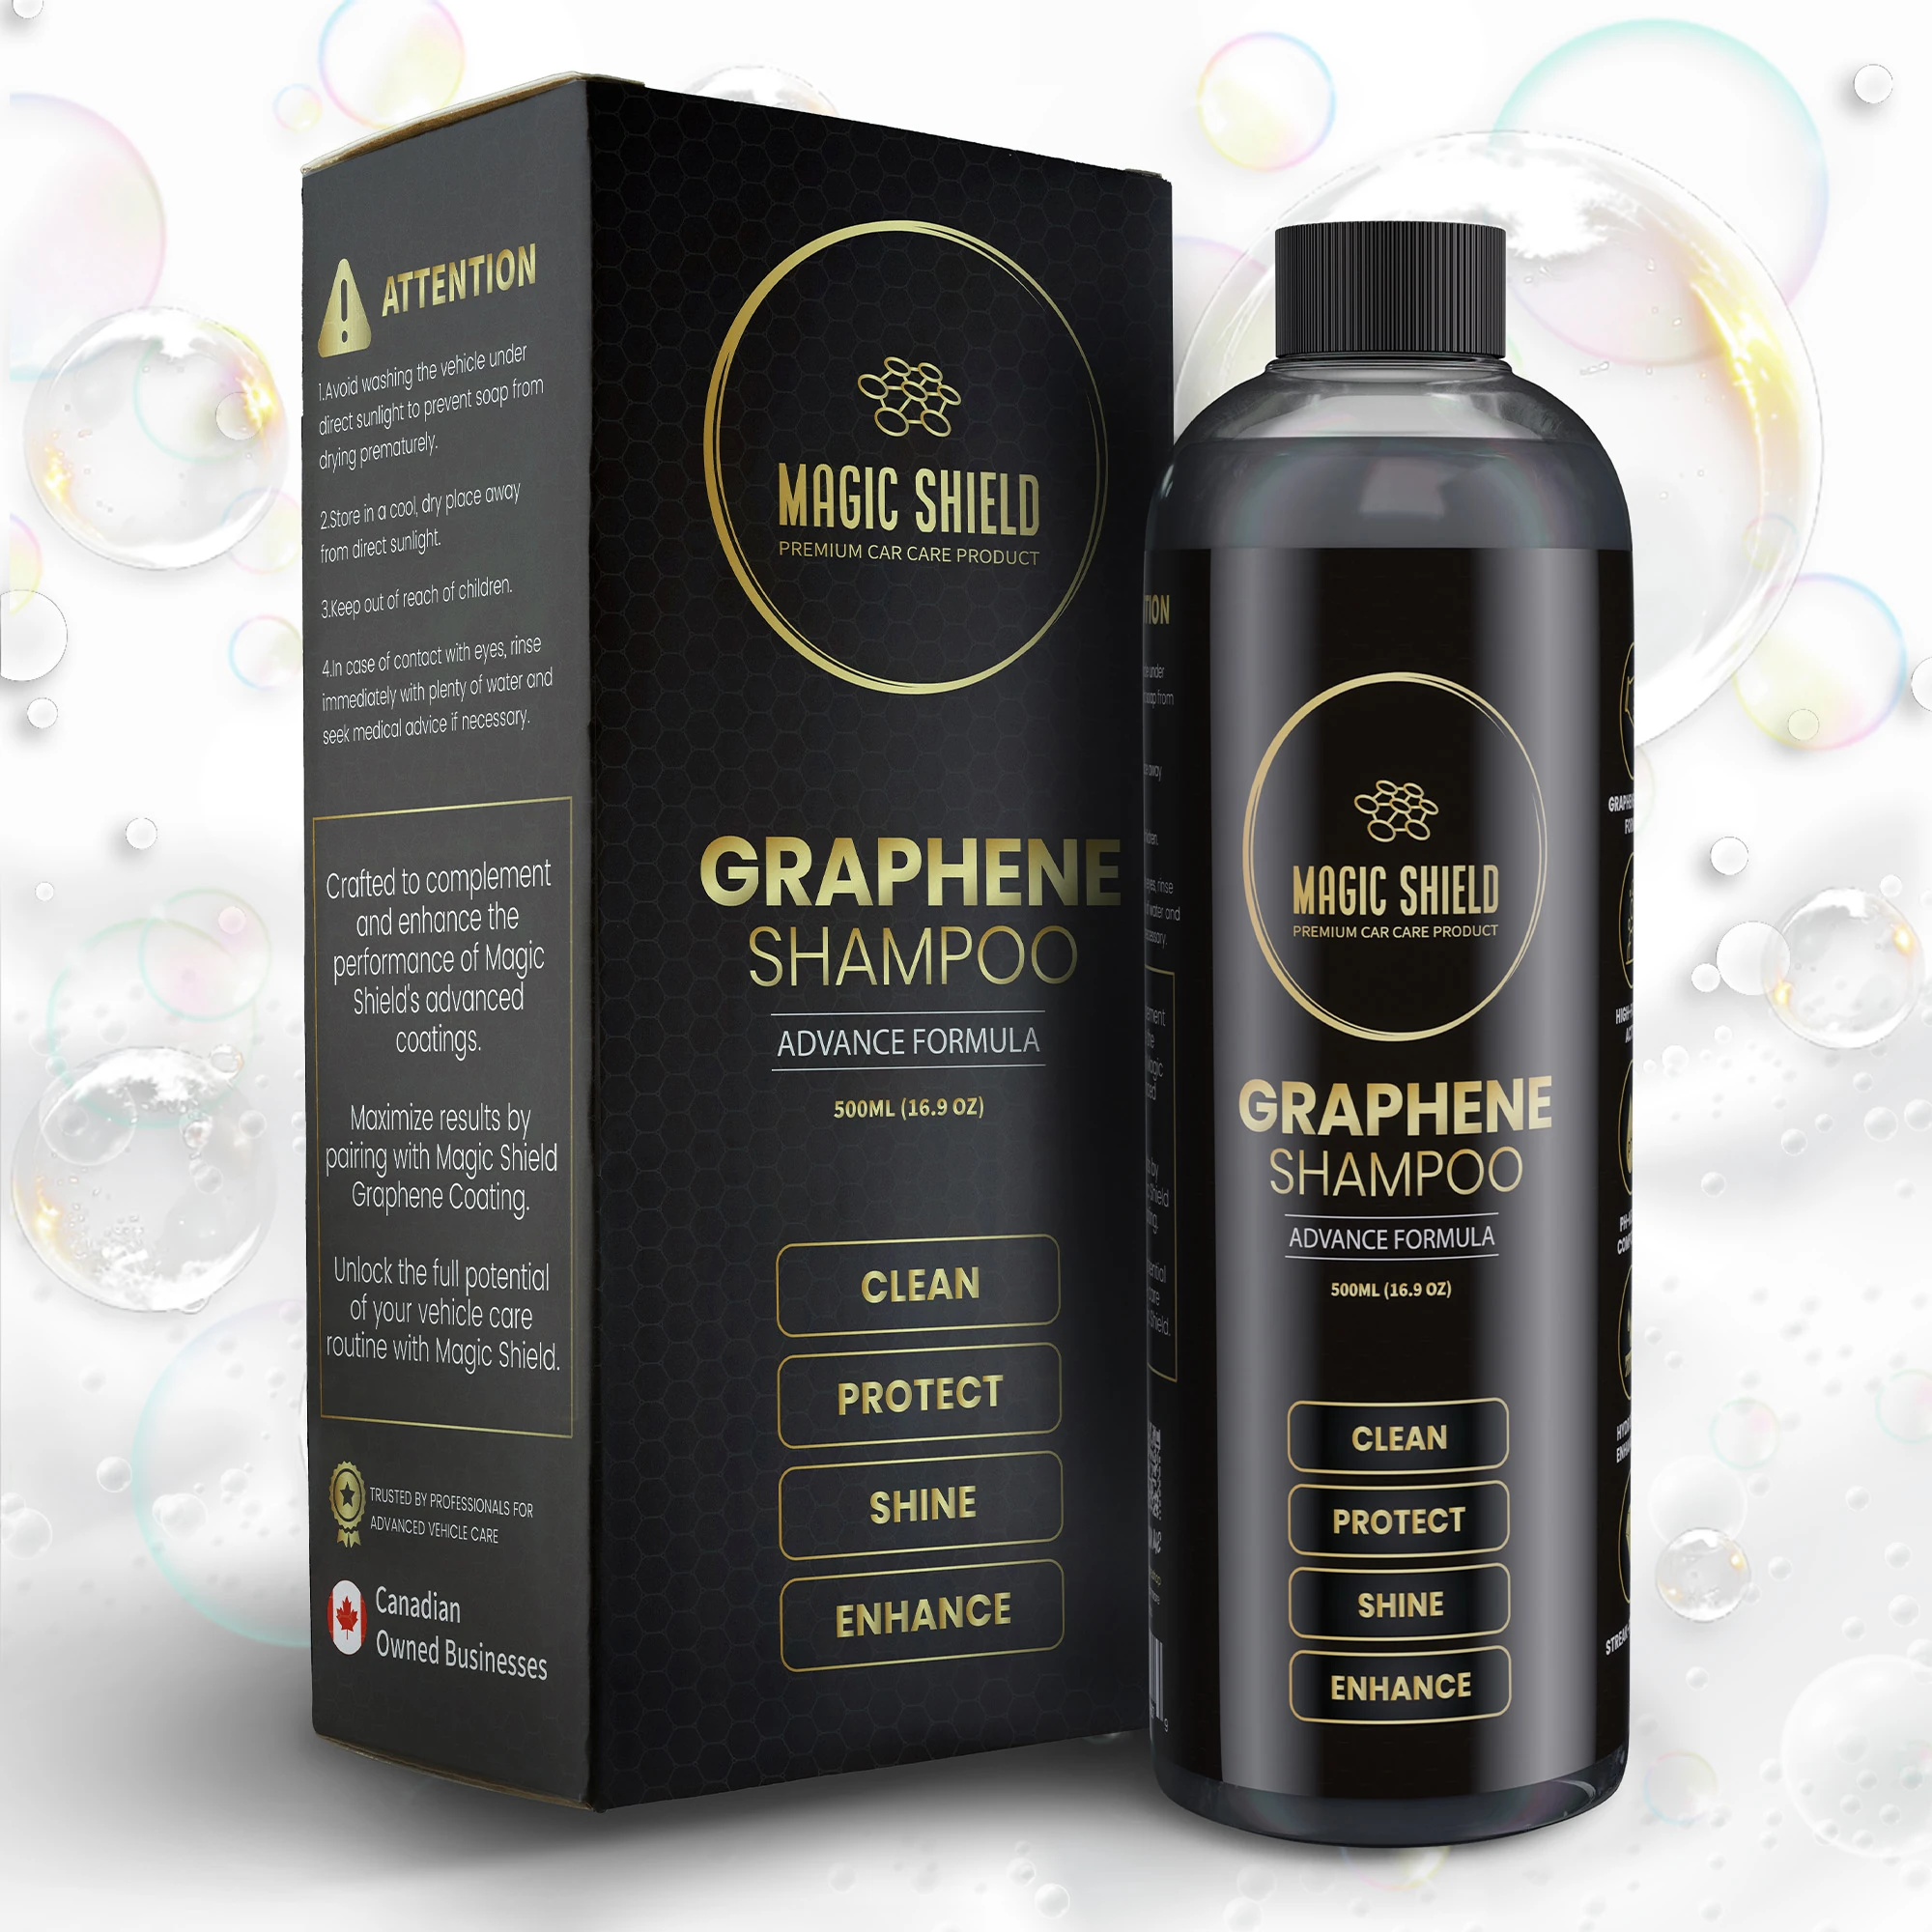
Add 30 mL (1 oz) to roughly 4 L (1 gal) of clean water and agitate for foam.
The Magic Shield garage guide
A great finish is a sequence—not a shortcut.
Ten products, ten complete instructions. Follow the full path or jump to the product in your hand.
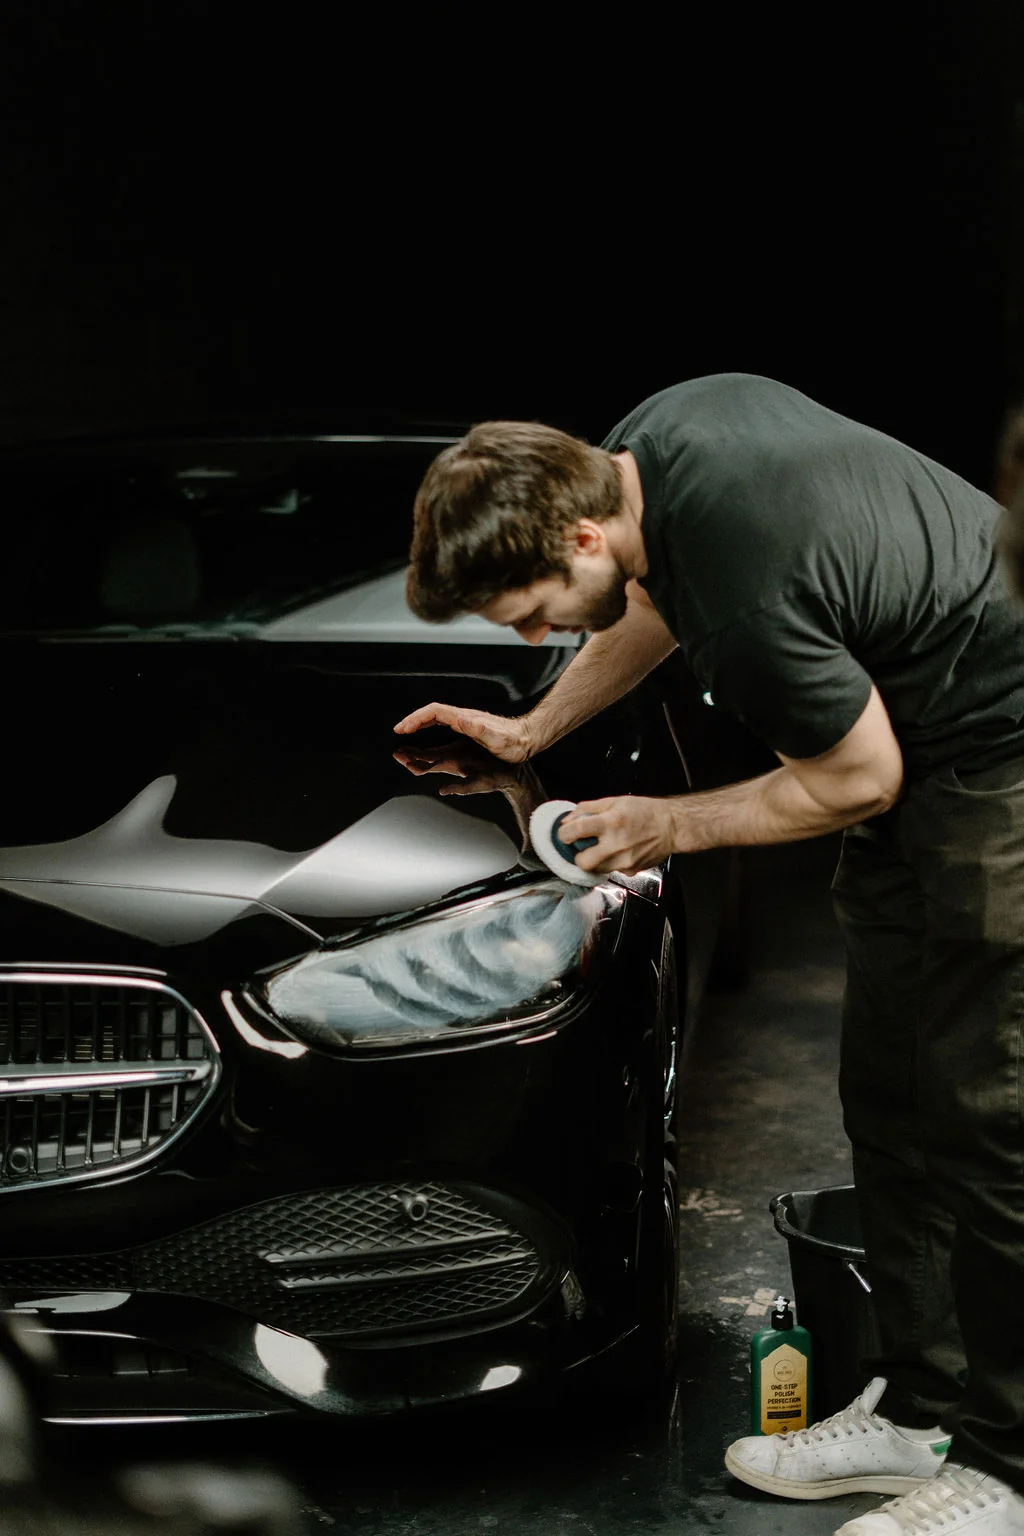
Before every productShade · cool surface · ventilation
Read the product label before starting. Wear the recommended protection, test an inconspicuous area, and never allow a chemical product to dry on the surface.
Surface preparation
Clean deeper. Correct only what needs it.
Follow the cards in order. Skip clay or polish only when the paint genuinely does not need that correction step.
01
 Surface preparationGraphene Shampoo
A safe first wash that removes loose grime without stripping an existing coating.
+
A safe first wash that removes loose grime without stripping an existing coating.
Use a clean mitt and work from the roof and glass toward the dirtier lower panels.
Rinse completely, then dry immediately with a clean microfiber towel or vehicle dryer.
02
Surface preparationIron RemoverChemical decontamination for embedded brake dust and iron fallout.
+
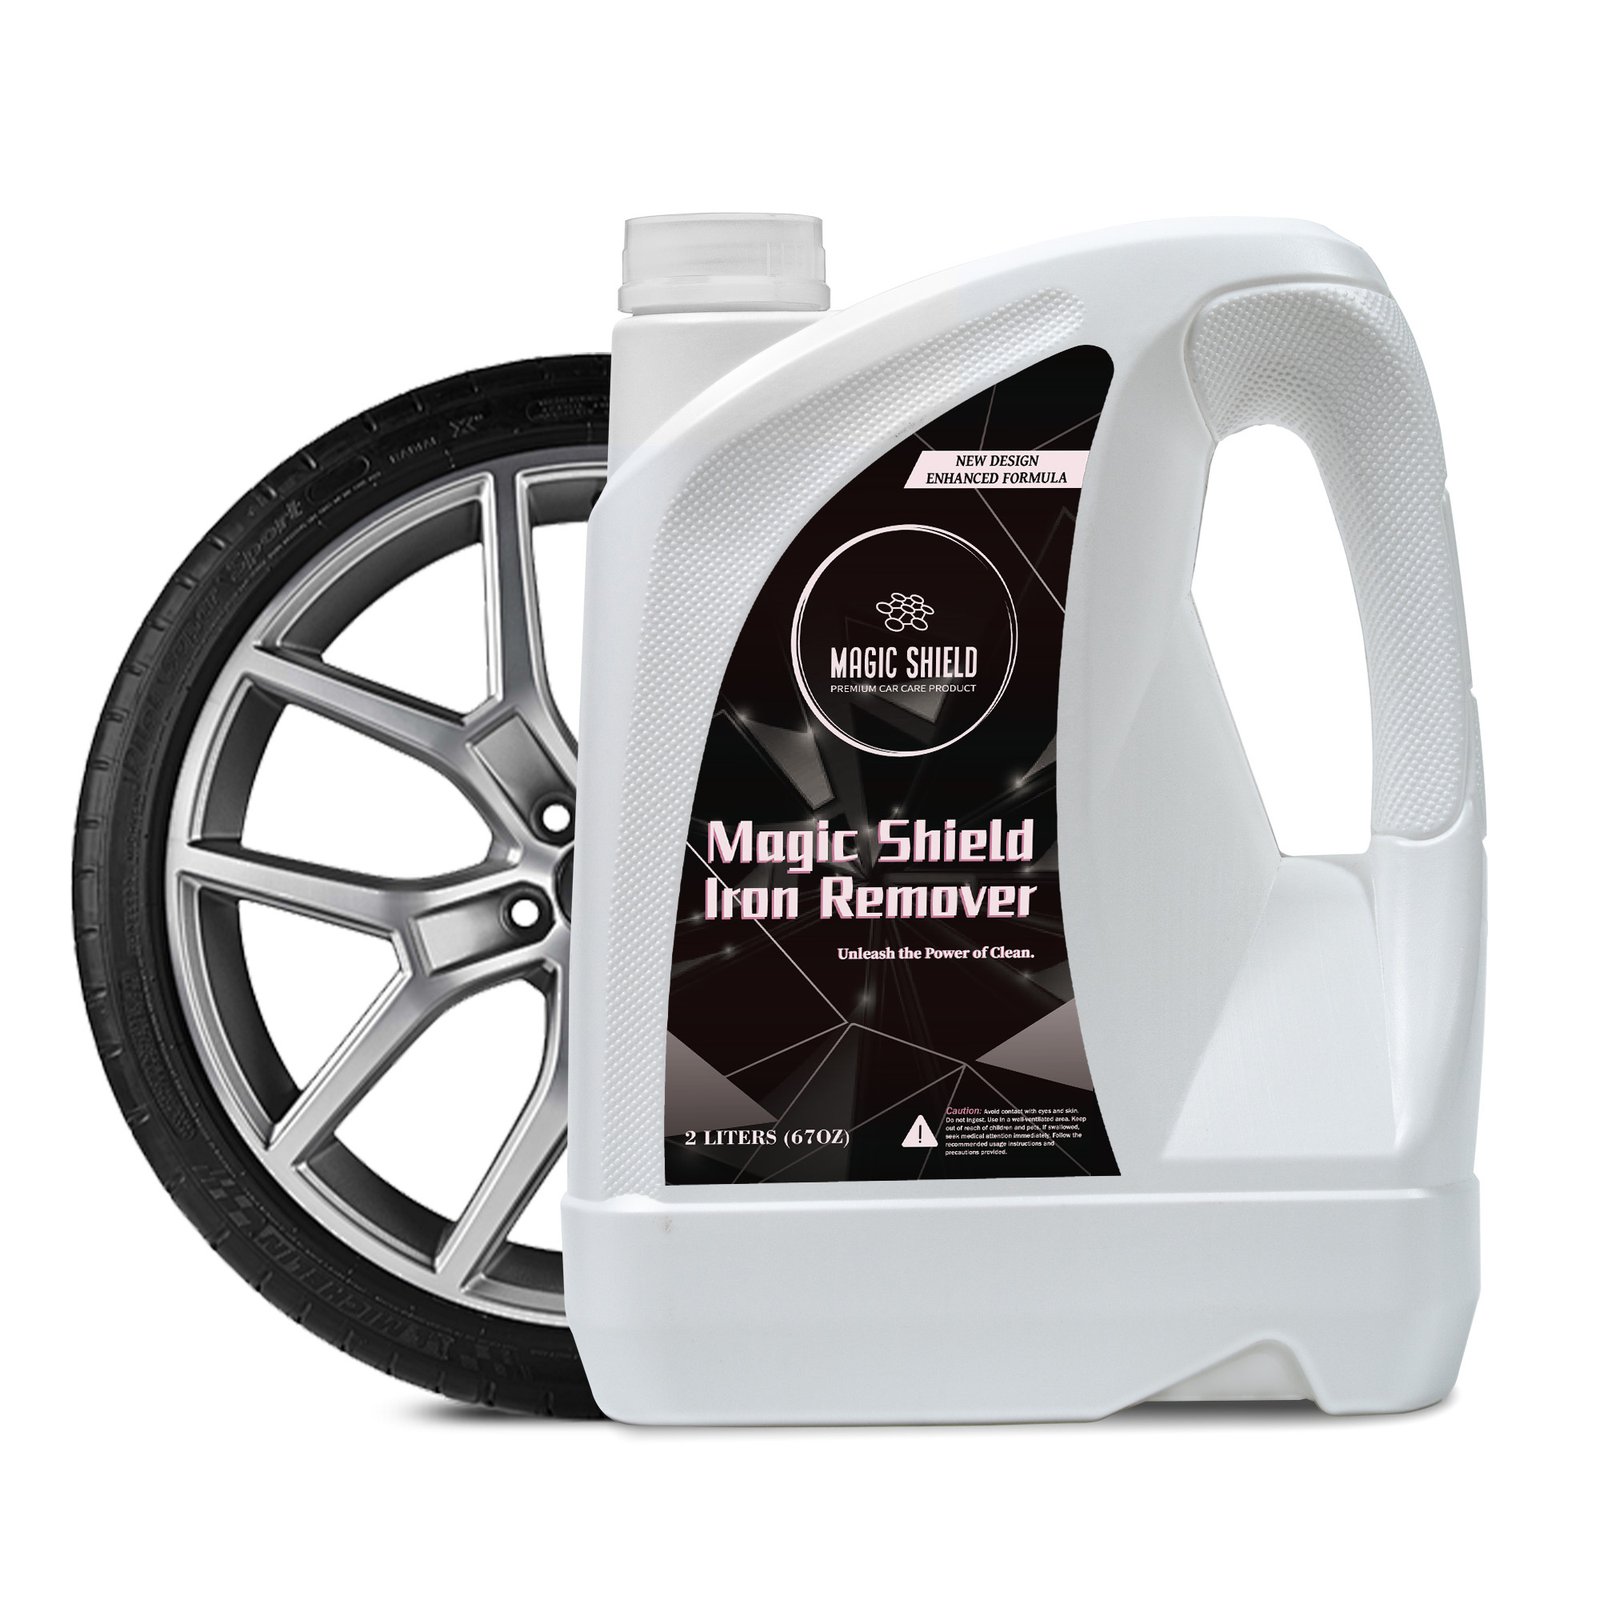
Chemical decontamination for embedded brake dust and iron fallout.
Shake well and spray evenly on a cool surface, focusing on wheels and lower panels.
Allow 3–5 minutes for the colour-changing reaction, but never let the product dry.
Gently work stubborn areas with a soft tool, then rinse every trace away.
03
 Surface preparationMulti-Grade Clay Bar Kit
Mechanical decontamination that leaves properly washed paint feeling glass-smooth.
+
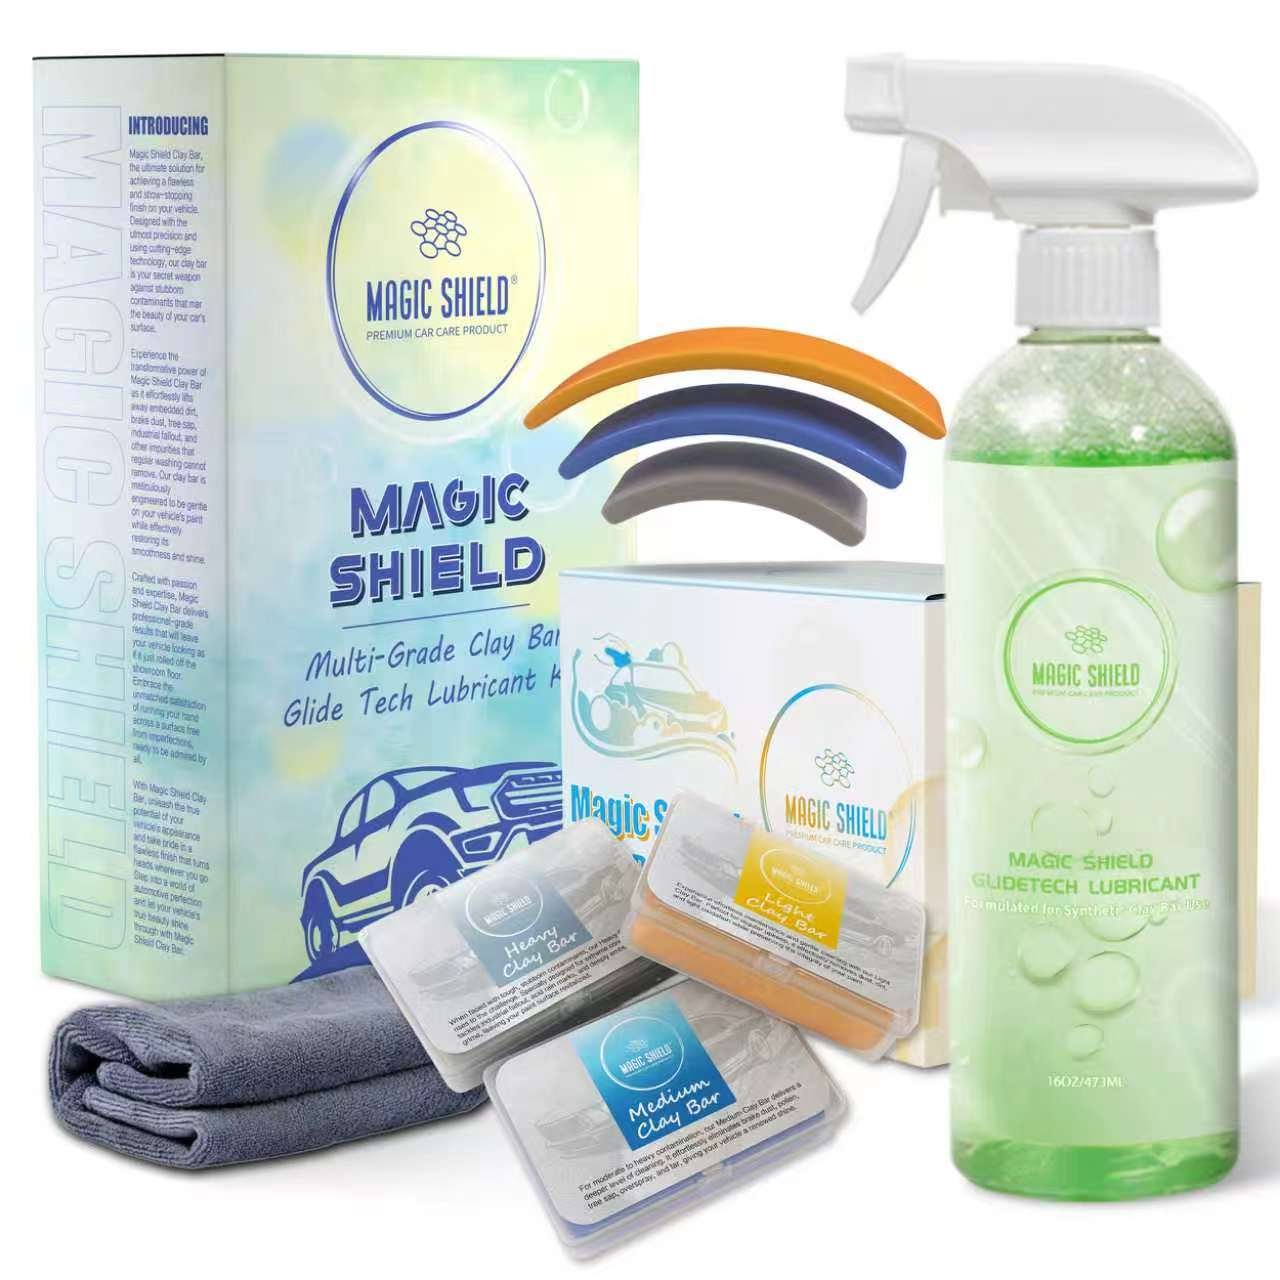
Mechanical decontamination that leaves properly washed paint feeling glass-smooth.
Use the lightest clay that matches the vehicle’s age and contamination level.
Work one small section at a time and keep the paint wet with clay lubricant.
Use light straight passes, fold to a clean face often, then rinse and dry.
04
 Surface preparationOne-Step Polish
Refines light defects and restores clarity before the final surface clean.
+
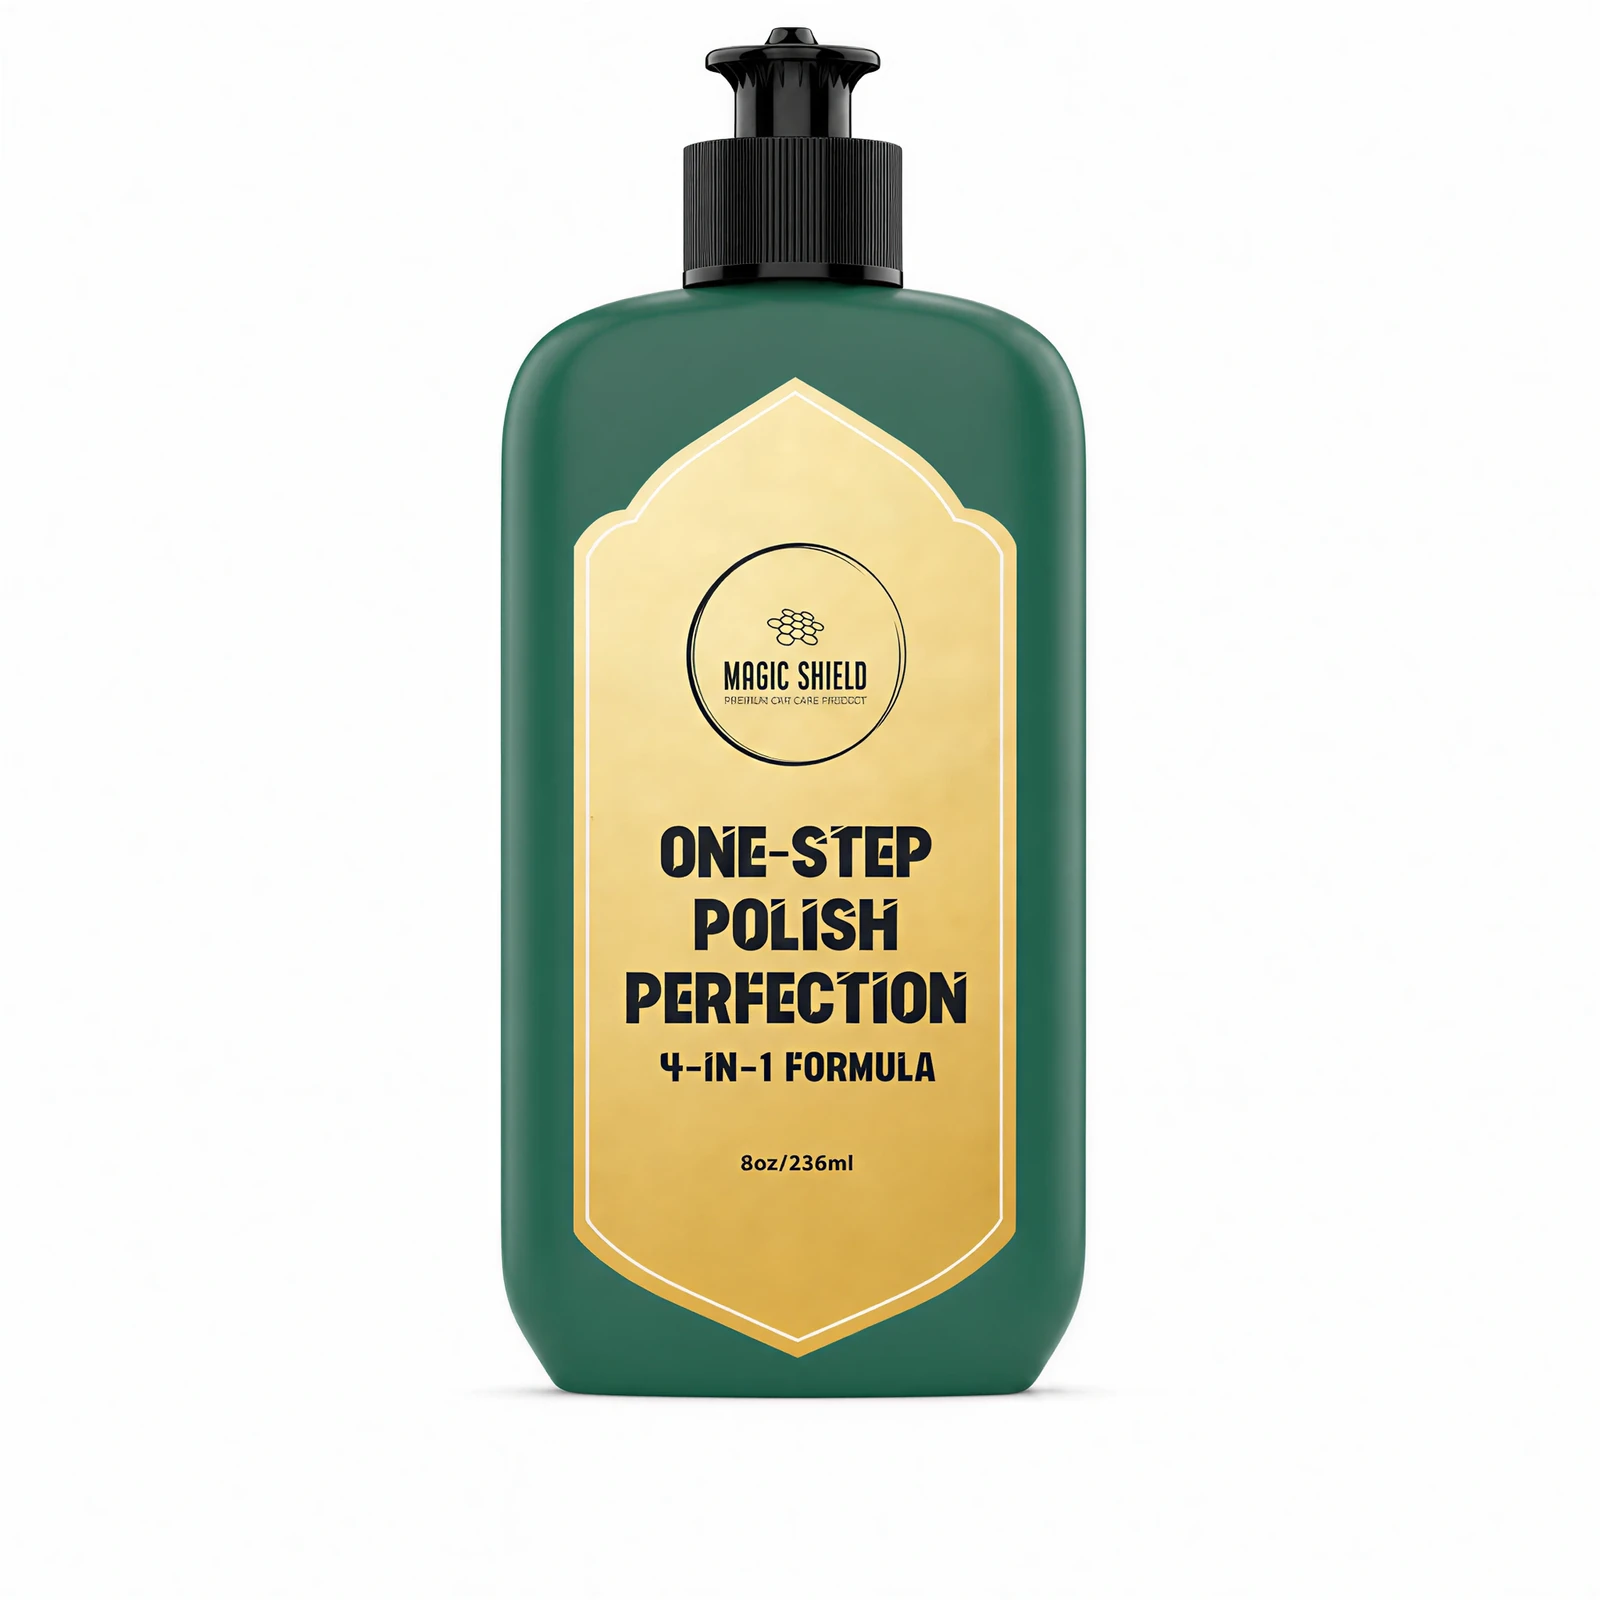
Refines light defects and restores clarity before the final surface clean.
Shake the polish and choose a polishing or cutting pad for the correction needed.
Spread first, then polish with slow overlapping passes by machine or hand.
Remove residue with clean microfiber and inspect from several light angles.
05
Surface preparationTotal Clean Prep SprayThe final reset that removes oils and residue before paint protection.
+
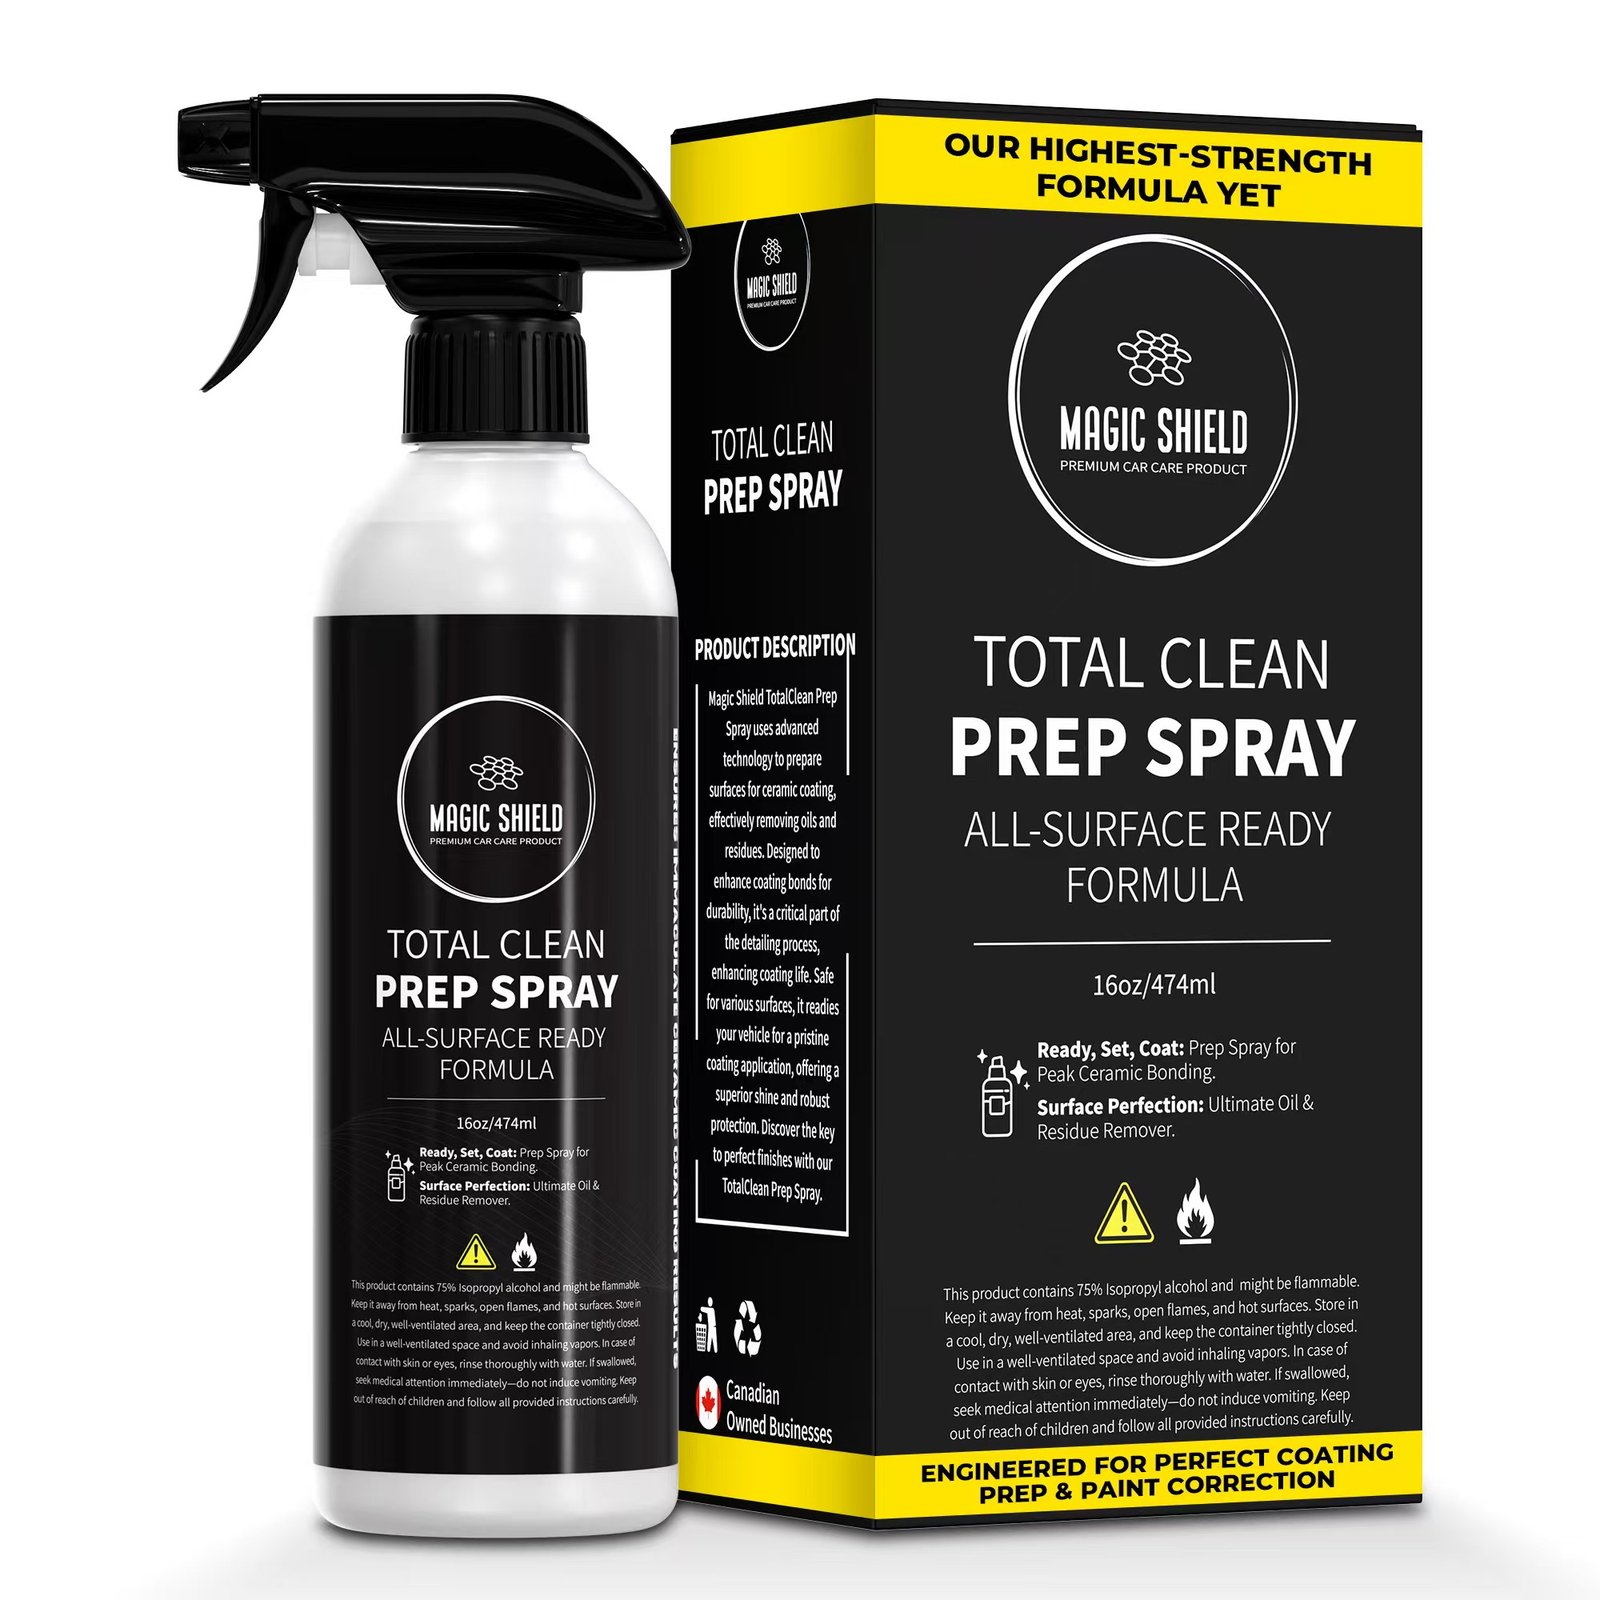
The final reset that removes oils and residue before paint protection.
Work on cool paint and treat only a small section at a time.
Use one clean microfiber side to spread, then a dry side for a streak-free finish.
Confirm the panel is completely clean, cool, and dry before coating.
Protection application
Thin layers. Good light. No rushed panels.
Choose one exterior coating path. Leather coating is a separate interior routine and should never be used on painted panels.
06
 Protection applicationCeramic Coating PRO 10H
A complete wipe-on, level, and cure system for exterior paint and clear coat.
+
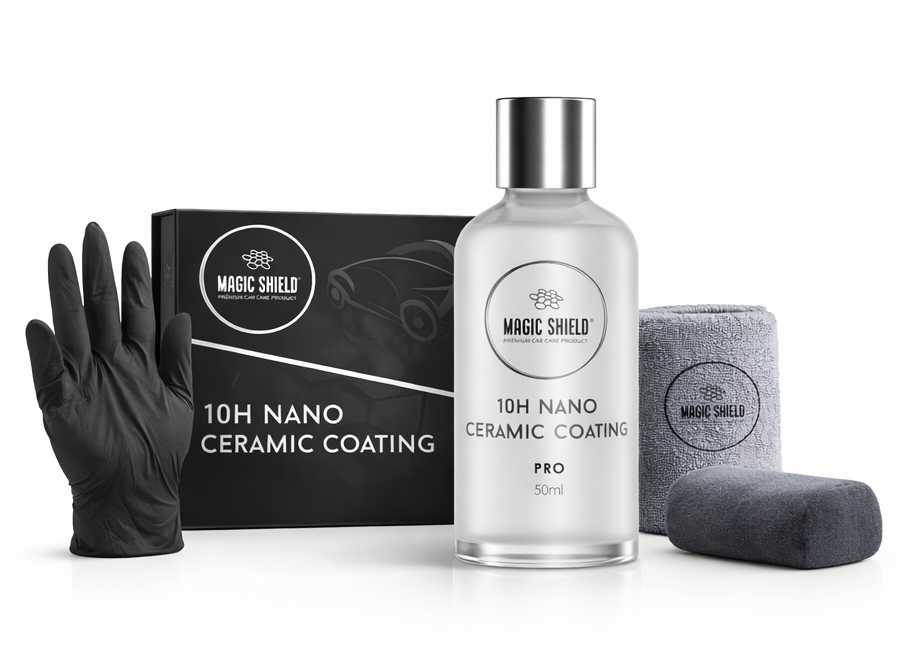
A complete wipe-on, level, and cure system for exterior paint and clear coat.
Shake the bottle and apply the directed number of drops to the suede applicator.
Use straight, slightly overlapping passes on one manageable section.
When a light rainbow haze appears, level it thoroughly with a clean microfiber towel.
Keep the vehicle dry, dust-free, and untouched for the cure period on the label.
07
Protection applicationGraphene Ceramic CoatingGraphene-enhanced exterior protection applied with a controlled panel-by-panel method.
+
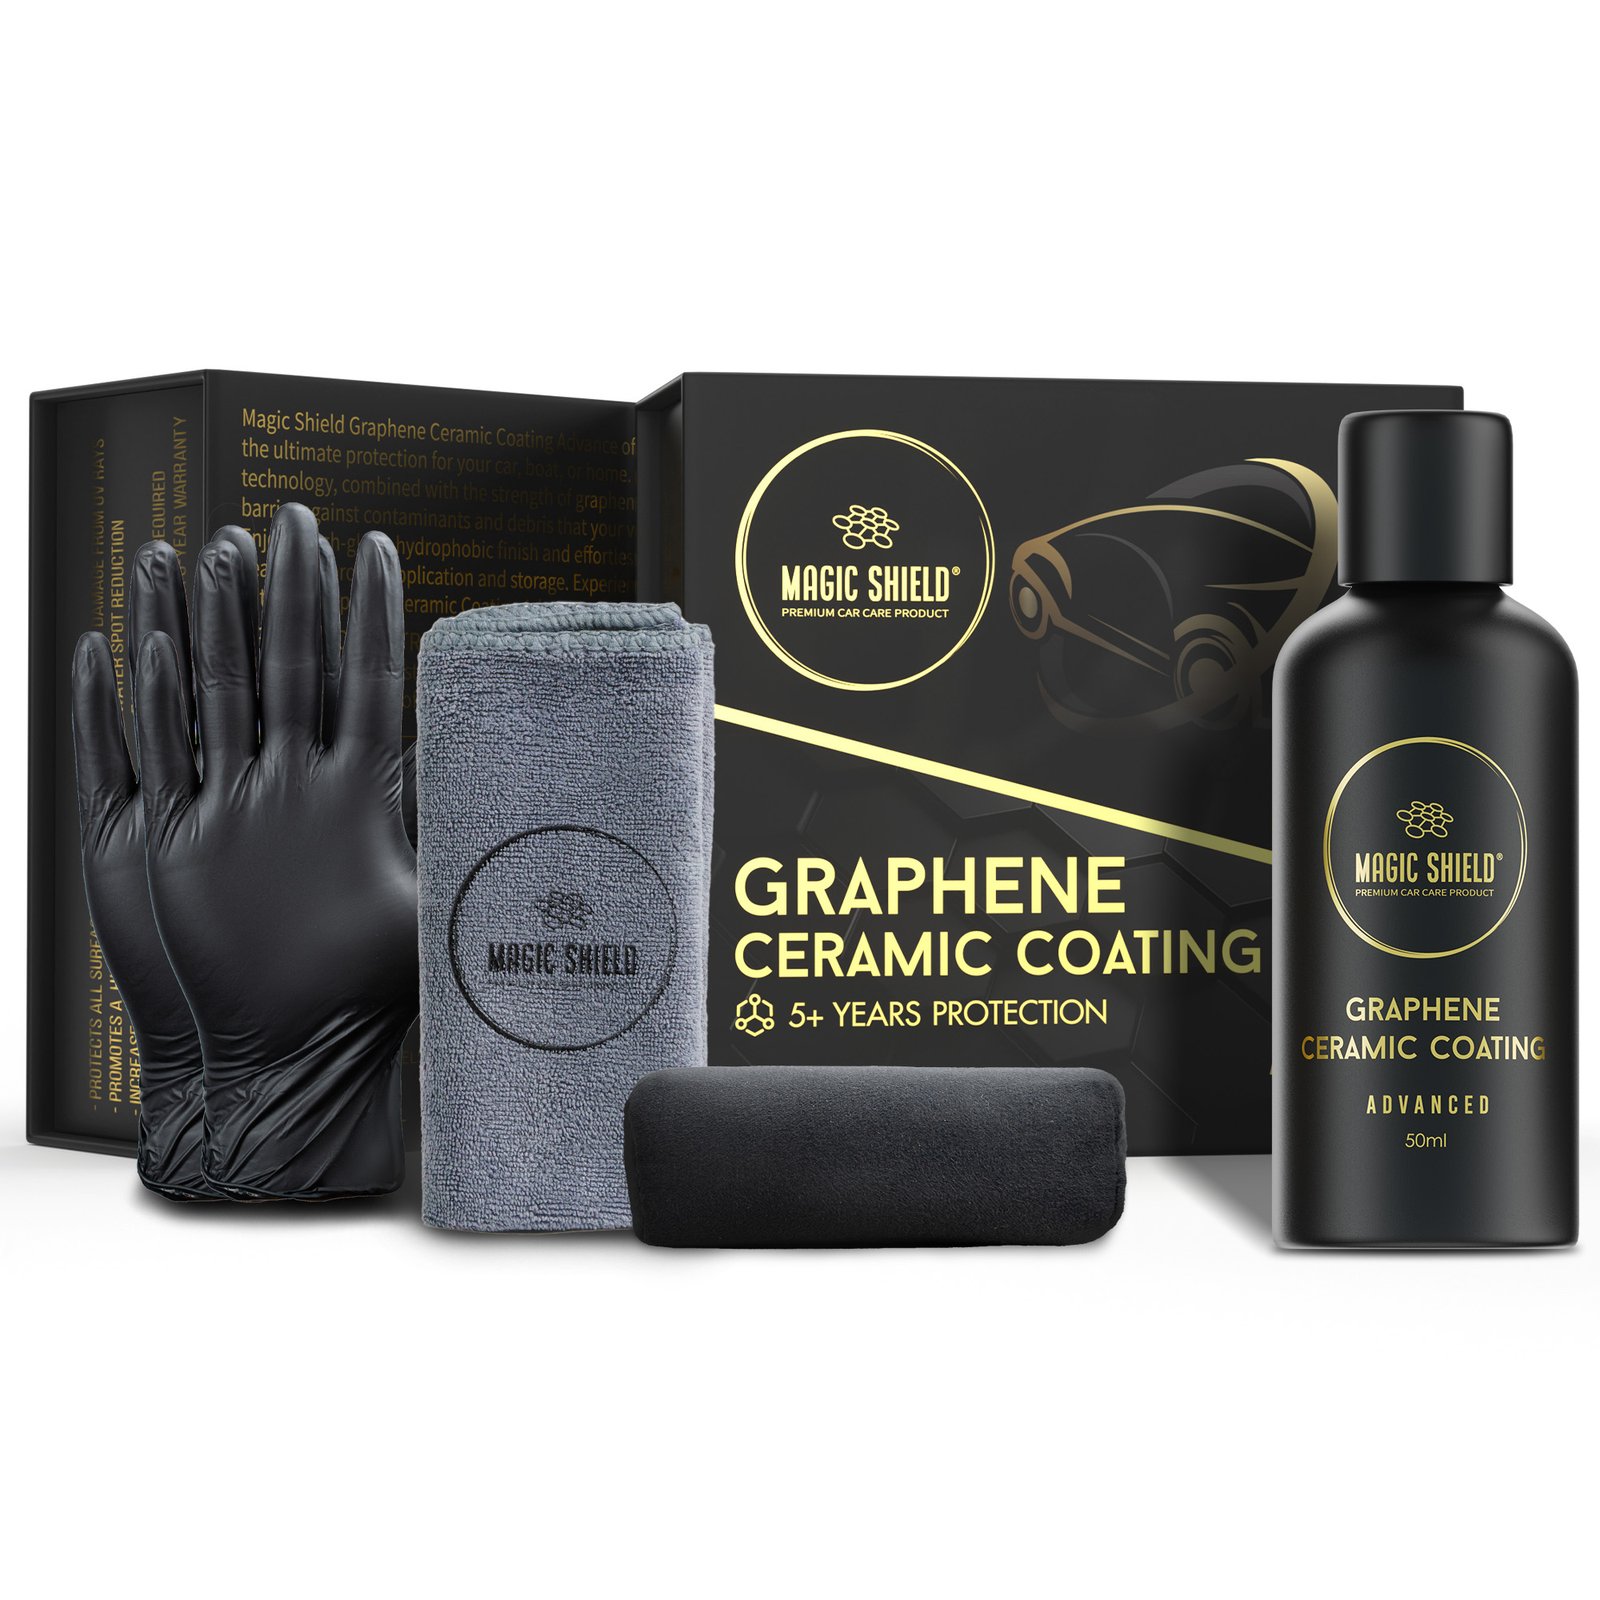
Graphene-enhanced exterior protection applied with a controlled panel-by-panel method.
Complete every preparation stage and work in a shaded, ventilated space.
Keep the applicator moist and overlap straight passes without flooding the panel.
Buff within the stated flash window and inspect from multiple angles for high spots.
Avoid water, chemicals, and washing until the product’s cure directions are complete.
08
Protection applicationDiamond AI CoatingA self-levelling restoration coating intended for aged, oxidized, or dull painted surfaces.
+
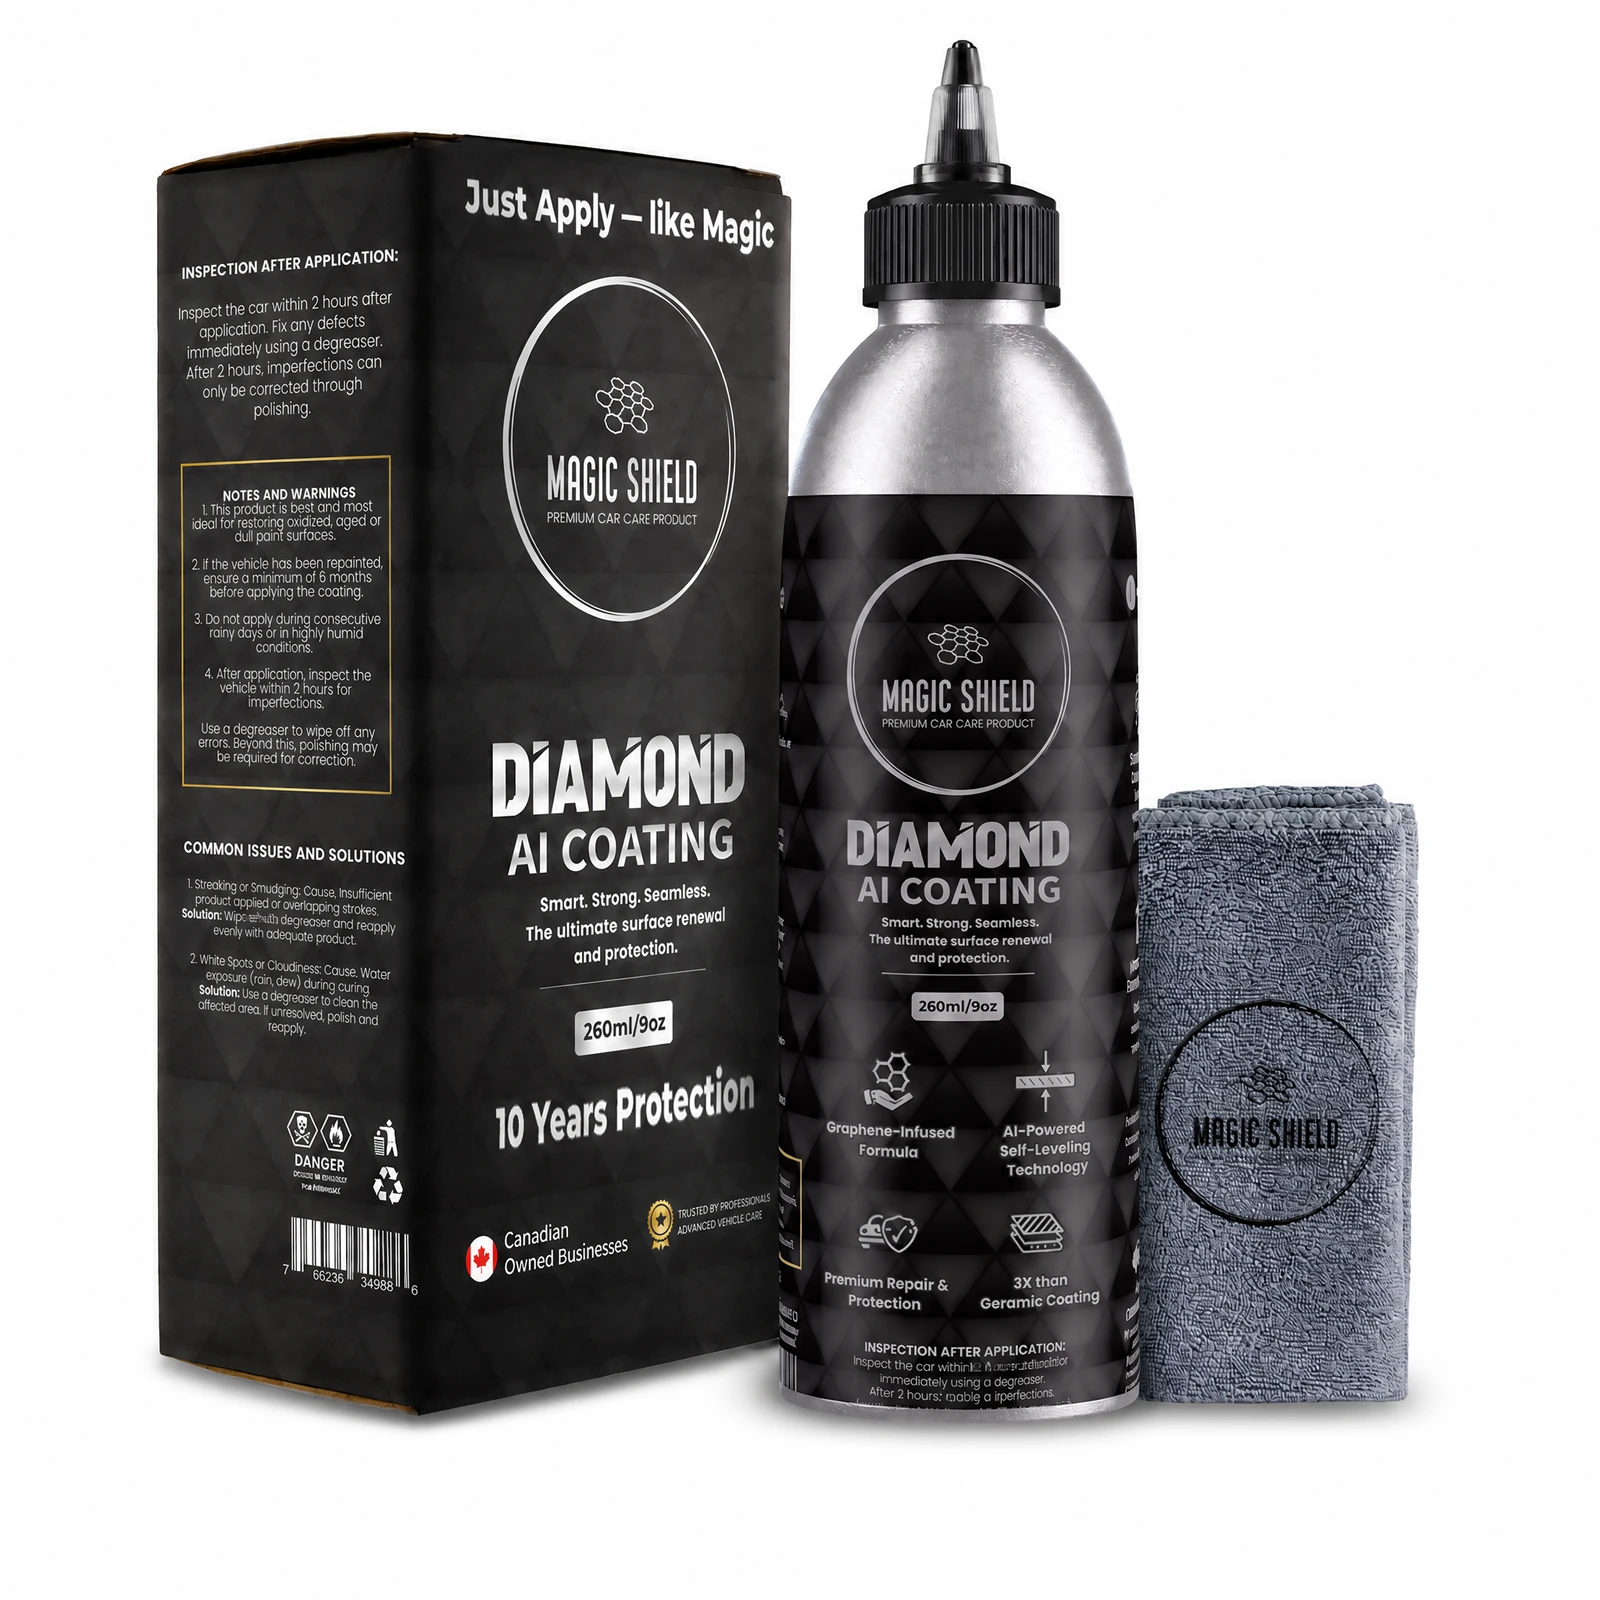
A self-levelling restoration coating intended for aged, oxidized, or dull painted surfaces.
Use on fully prepared paint that needs renewal; test an inconspicuous area first.
Prime the applicator as directed and use single-direction passes with slight overlap.
Check the finish within the correction window and address uneven areas immediately.
Keep the vehicle sheltered and follow the seasonal water-avoidance directions.
09
Protection applicationLeather Graphene CoatingA clean-and-protect routine for finished automotive leather and other suitable leather surfaces.
+
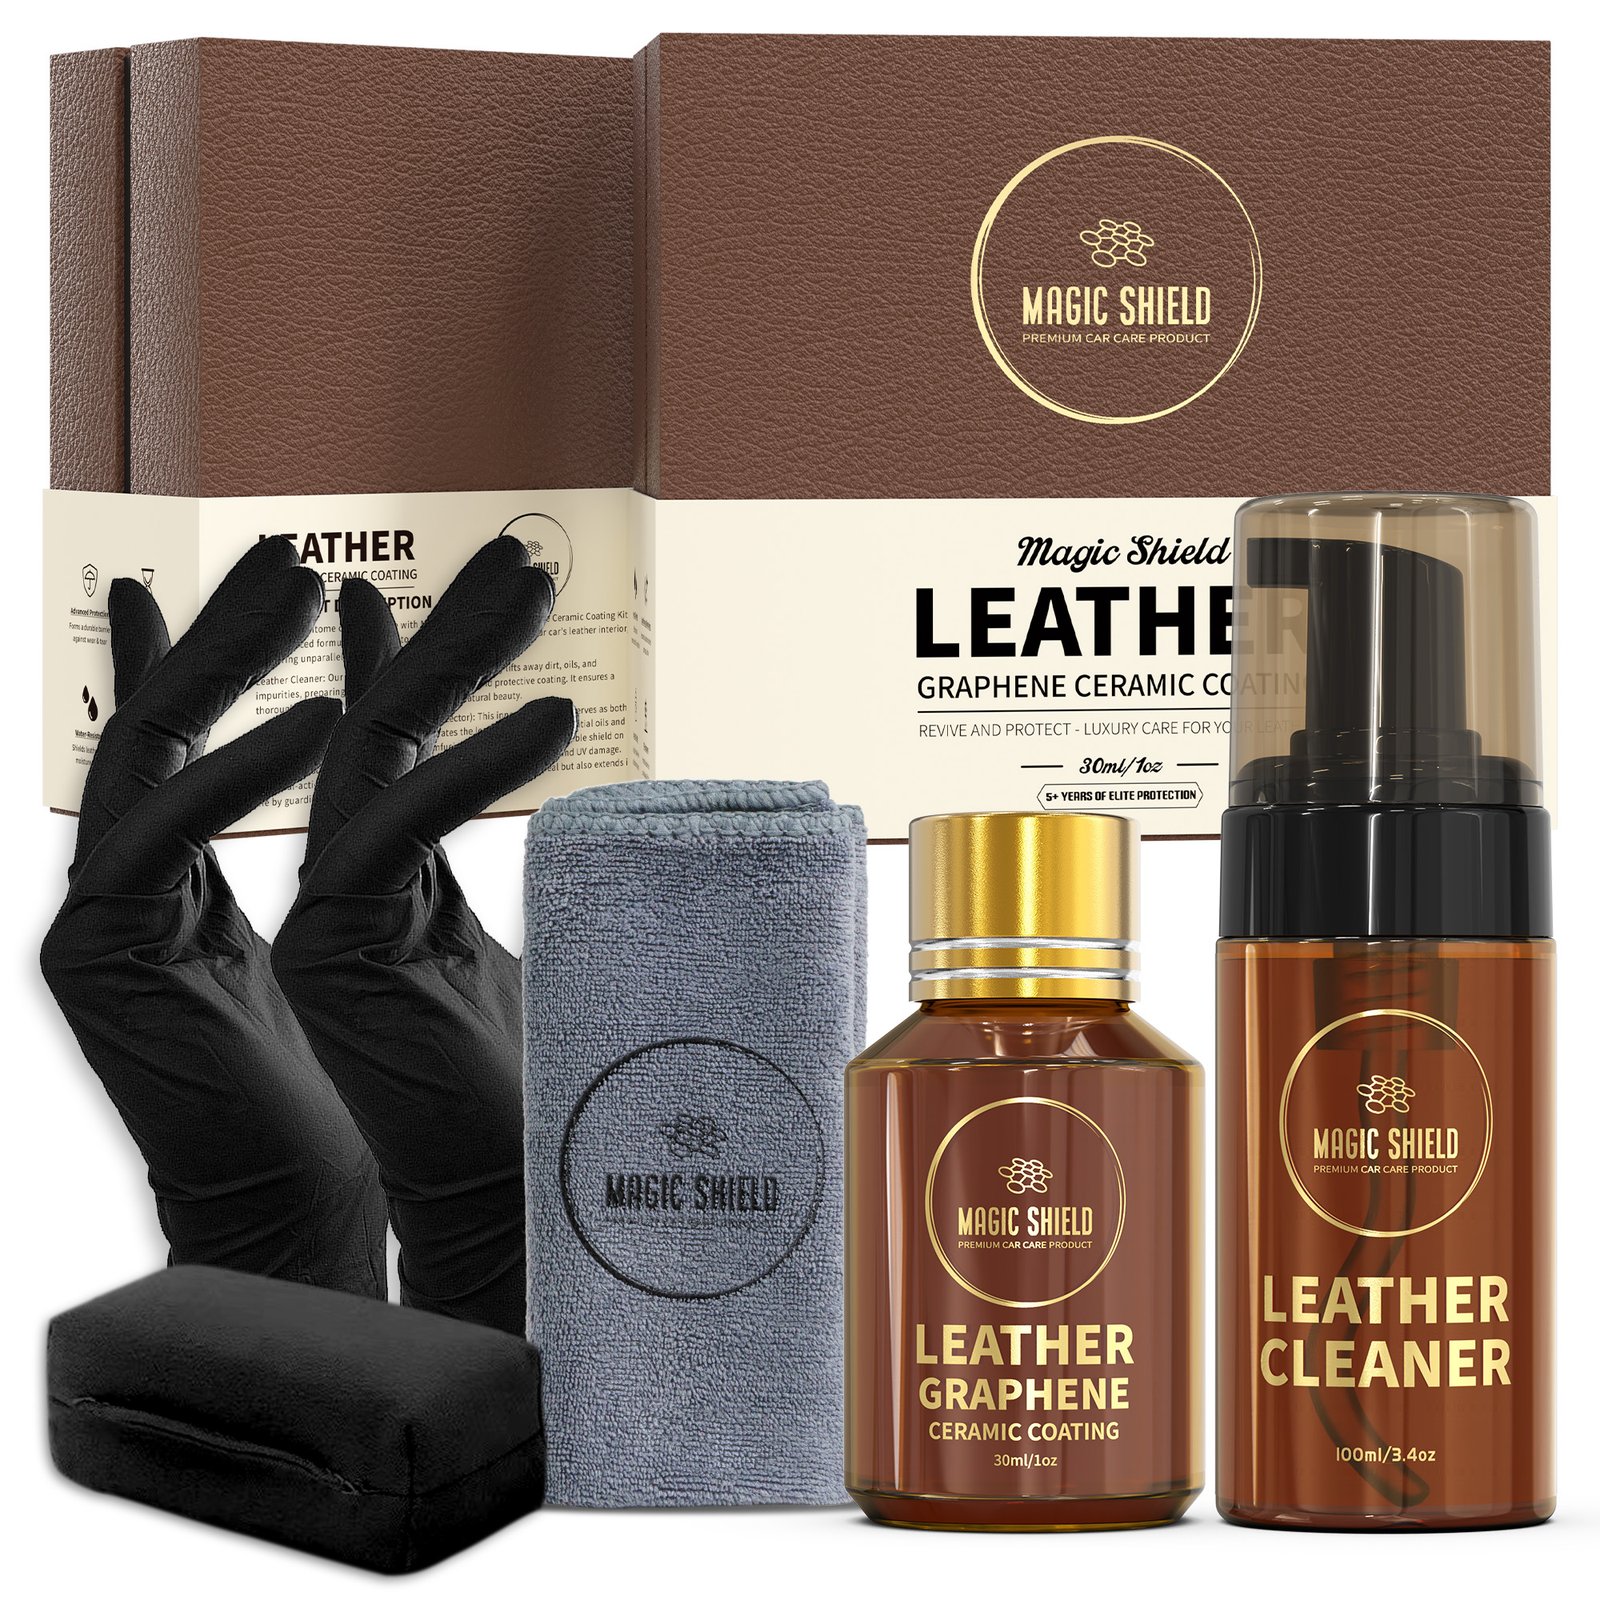
A clean-and-protect routine for finished automotive leather and other suitable leather surfaces.
Remove dust, then use the included cleaner to lift body oils and residue.
Add a small amount to the applicator and use straight overlapping passes.
Allow the product to settle as directed and gently remove excess with clean microfiber.
Keep the surface dry and unused during the stated cure period.
Maintenance
Wash safely. Refresh only when the finish asks for it.
Use Graphene Shampoo for regular washing. Add Graphene Ceramic Spray after washing when slickness and water behaviour begin to soften.
10
 MaintenanceGraphene Ceramic Spray Coating
A fast spray-on refresh for clean, dry exterior surfaces.
+
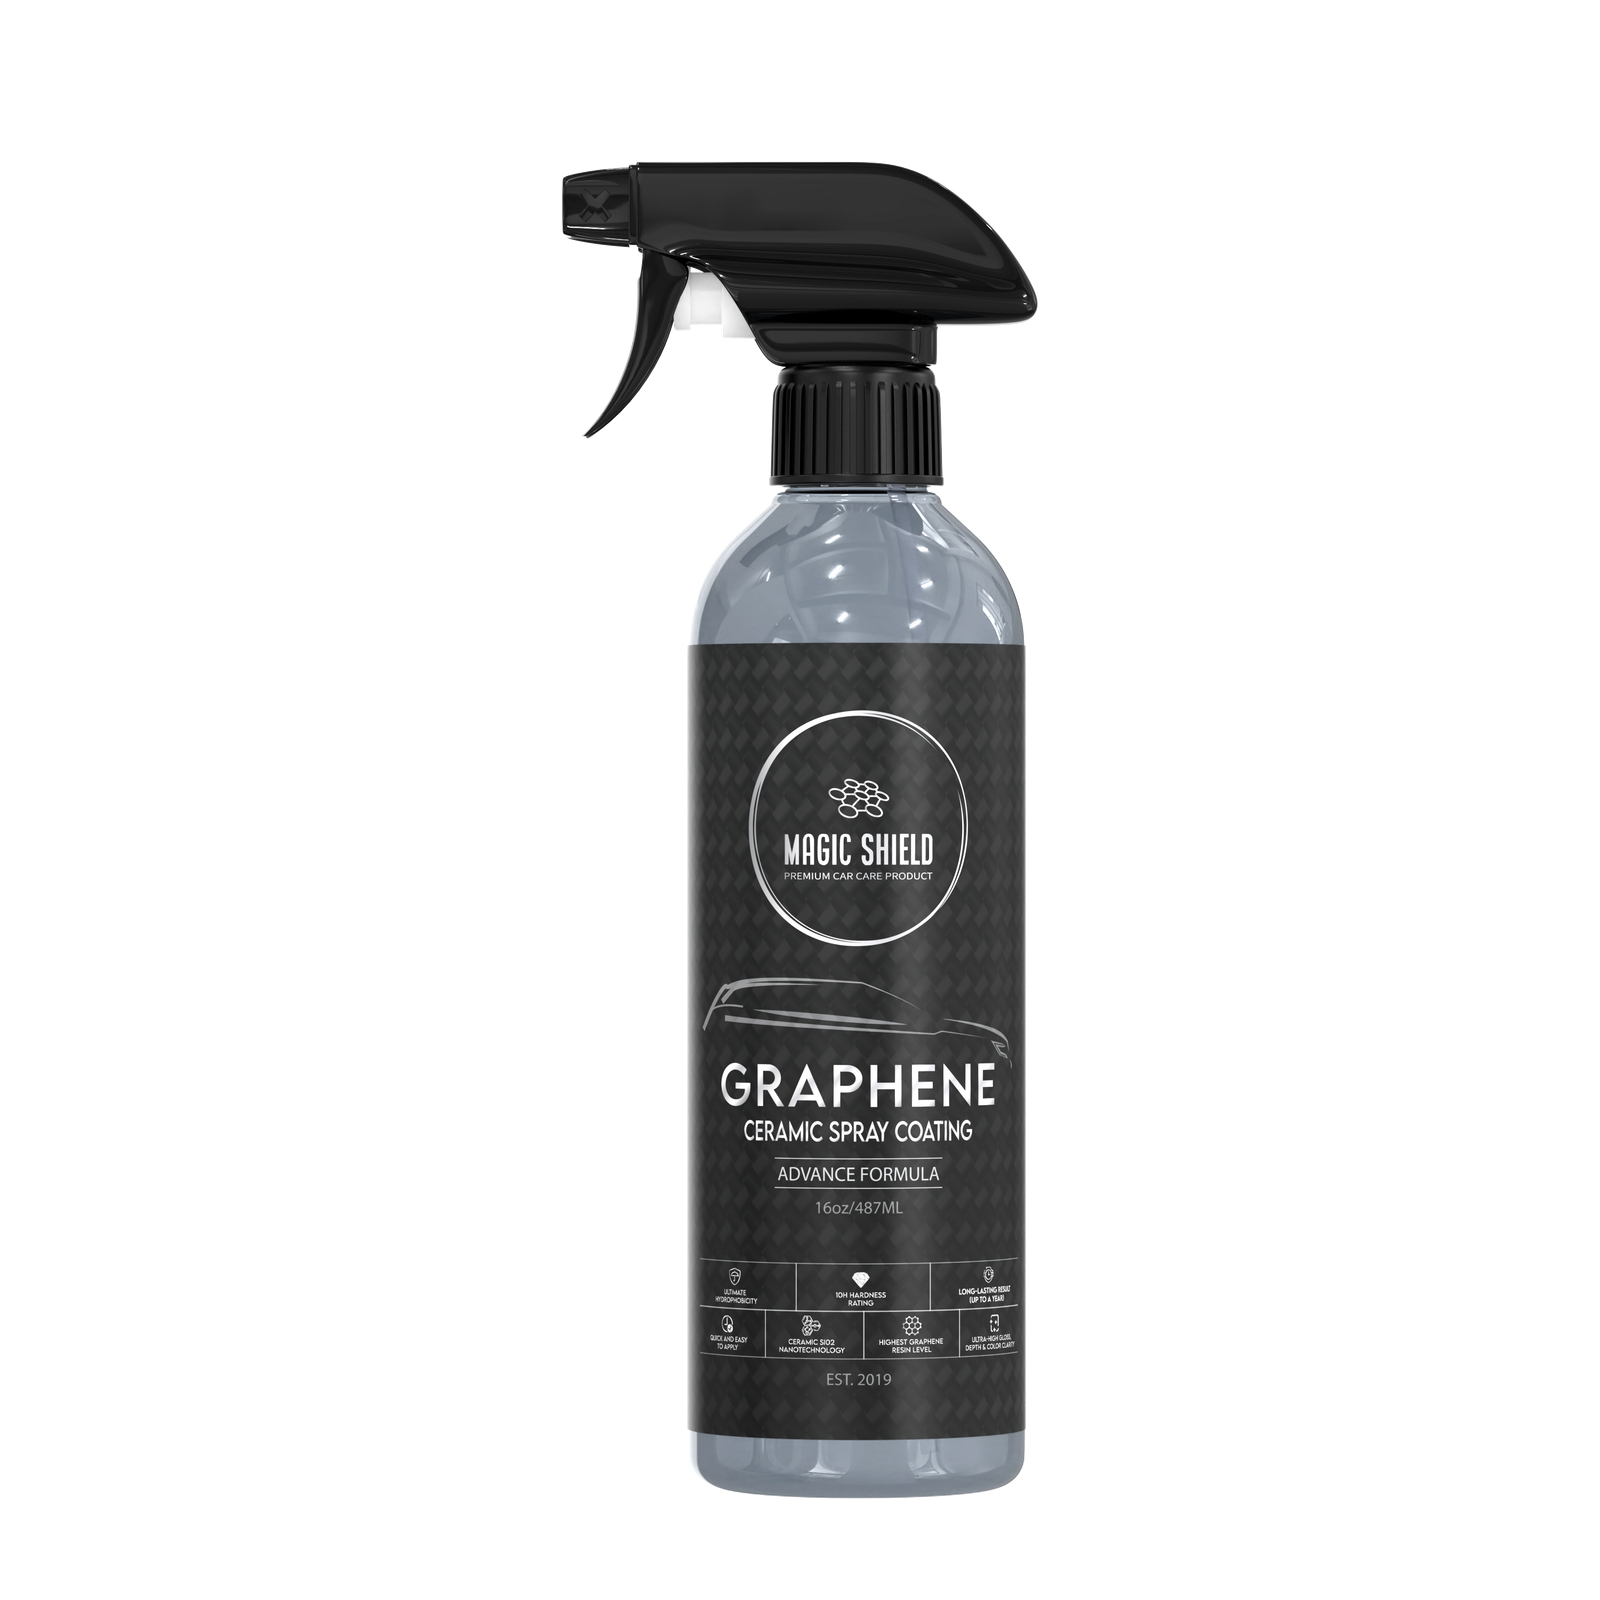
A fast spray-on refresh for clean, dry exterior surfaces.
Wash the vehicle, dry every panel, and work on a cool surface away from direct sunlight.
Shake well and apply a light, even mist to one manageable panel at a time.
Use a clean microfiber towel to distribute the product evenly across the panel.
Turn to a dry towel side and buff until the surface is clear, streak-free, and uniformly slick.
The rule worth remembering
Preparation creates the result. Patience protects it.
Product directions always take priority over this general guide, especially for flash time, cure time, seasonal conditions, and surface compatibility.
See the complete range →